Created: 1/27/2004
Last updated: 1/27/2004
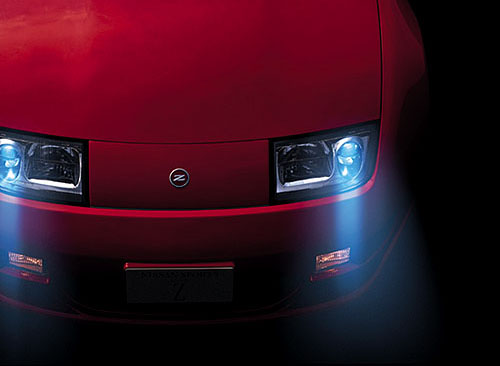
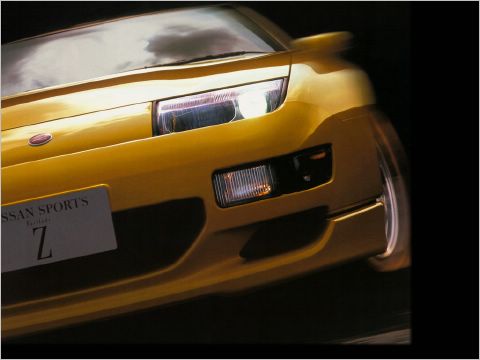
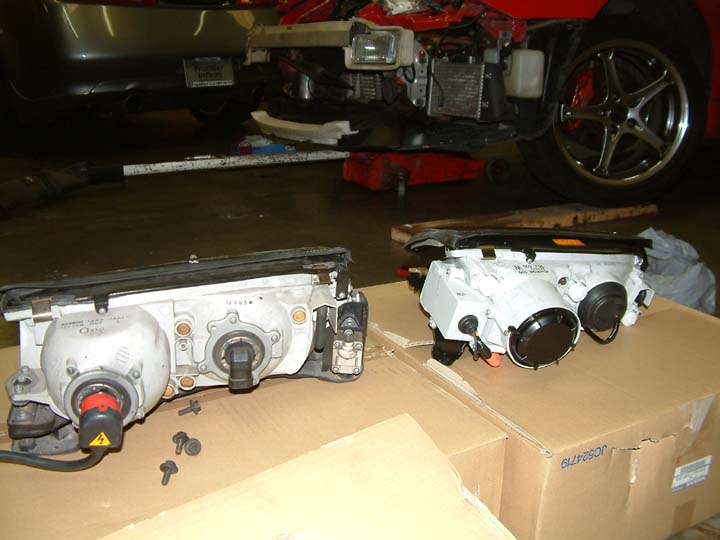
Well, this is one of those modifications that offer no inherent performance value other than making the night time brighter, making the front end look nicer, and being able to say that there are few other Zs with this modification out there. For those of you out there that don't know, Zs were still being manufactured in Japan past 1996. The last year that the Z was in production was 1999. This last year, an option was available for the Xenon headlight assembly as seen in the following pictures.
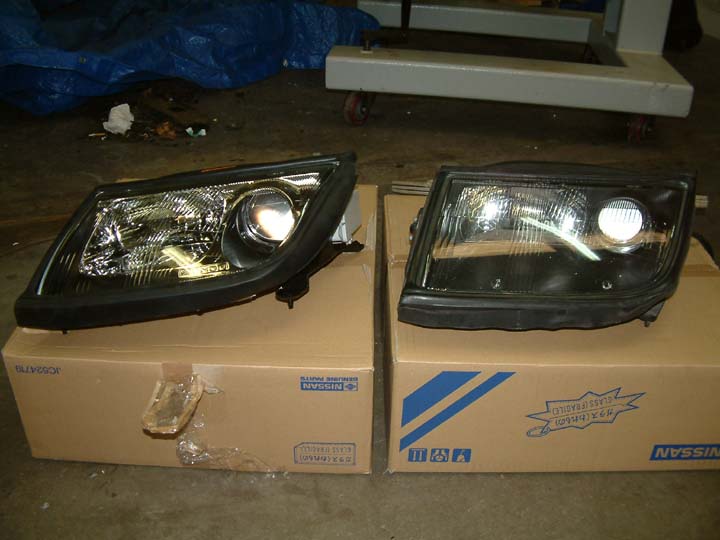
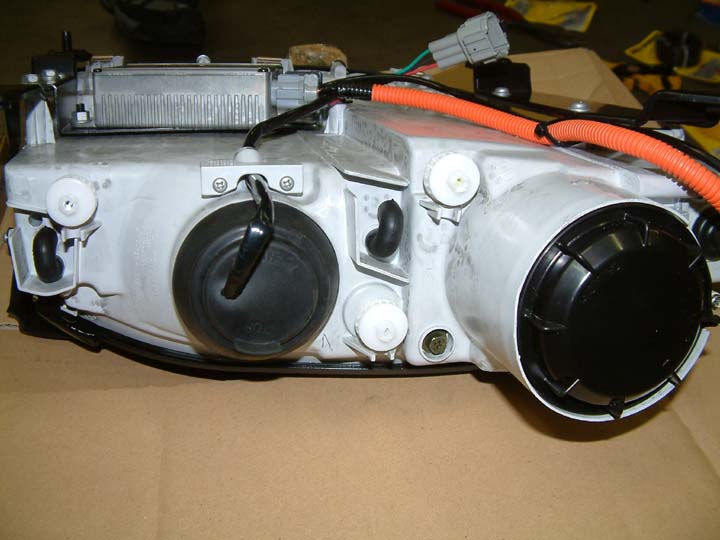
You can tell in these pictures that the housing is different. In addition to the interior being chrome plated, there is a Xenon label imprinted into the chrome and also the high beam and low beam structure is different. I have a side by side picture below.
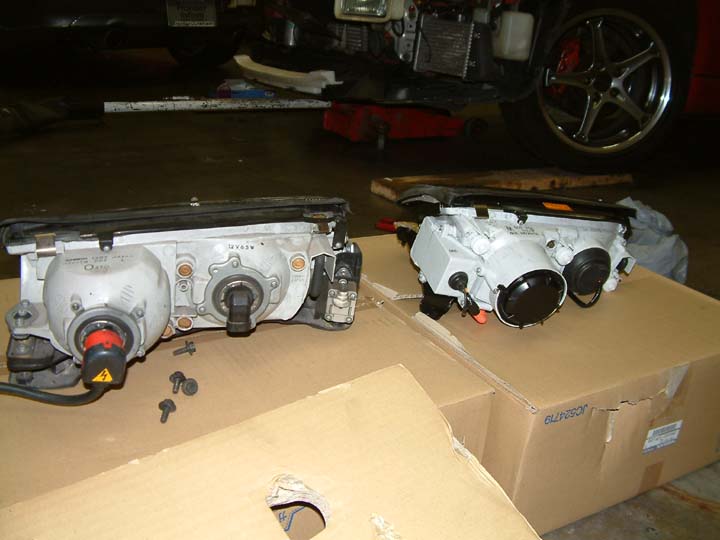
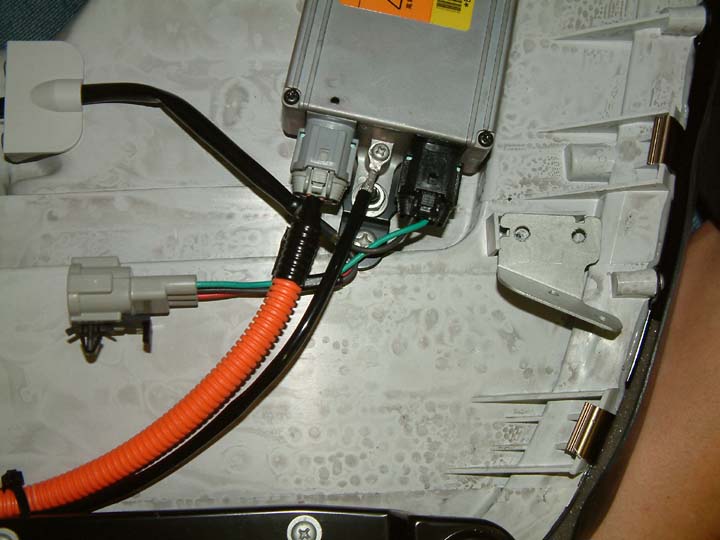
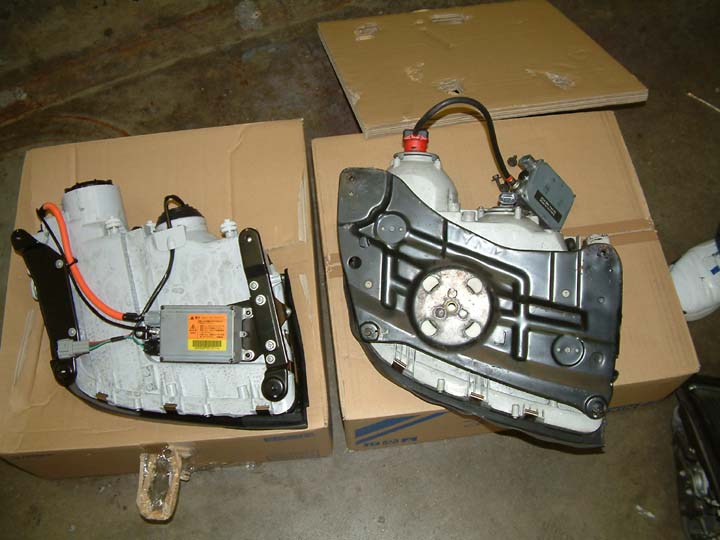
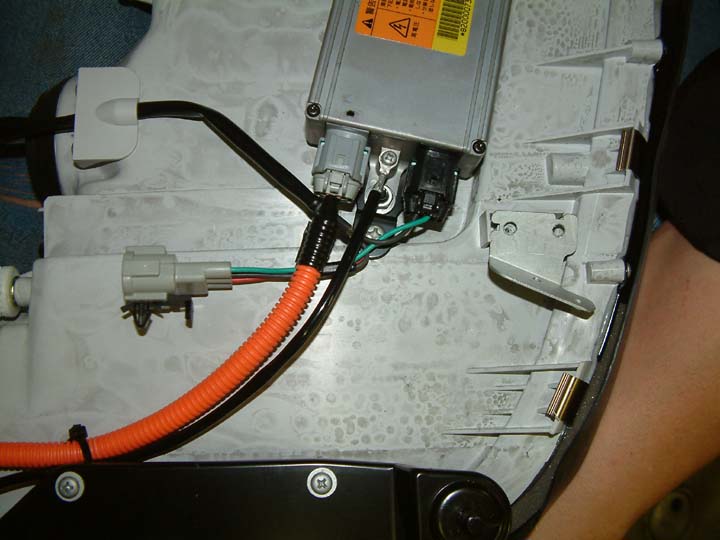
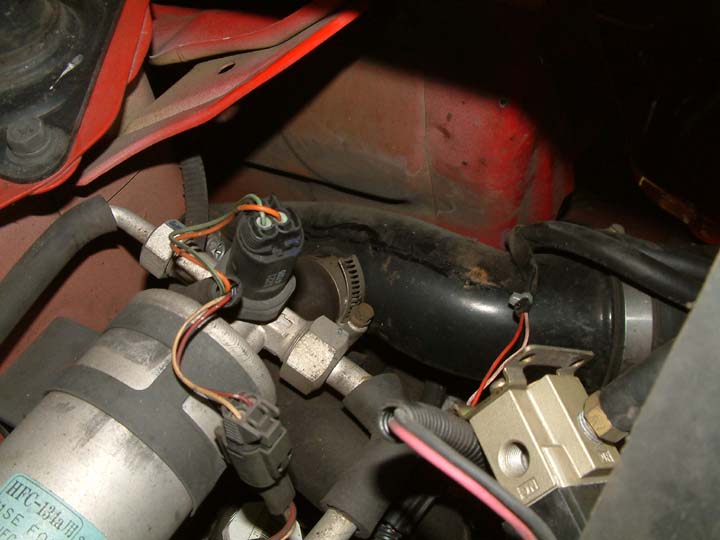
Comparing the rears and the underside of the unit, you can see that the wiring is completely different between the J-spec and US ones. Ours has a separate harness connector for the high beam and the low beam. The J-spec on the other hand has a single connector that goes to both high and low beams. Also, another major difference is that the Japanese headlights are aimed by an internally adjustable system whereas the US market Zs are on a floating chassis where the entire chassis moves when you adjust the aiming screws. Since in Japan, all vehicles are right hand drive, the lights are biased towards the left to light up the signs on the shoulder whereas vehicles in the US are left hand drive so the lights are biased towards the right. This must be taken into consideration when aiming the lights. No matter how much you aim the lights, you cannot bias the lights towards the right without major modification. Oh well. By the way, the plug and ballast on the US headlight is part of a Philips HID retrofit kit purchased from Trevor Tan at Visual Dynamics. This was a well conceived kit and definitely a plug and play.
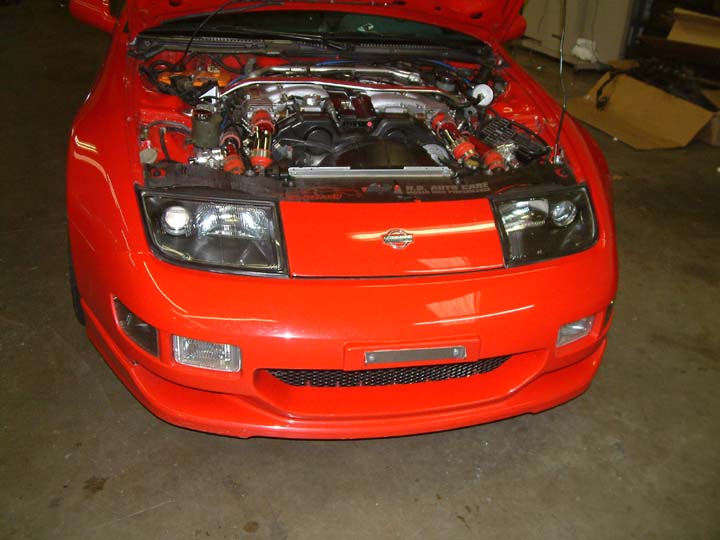
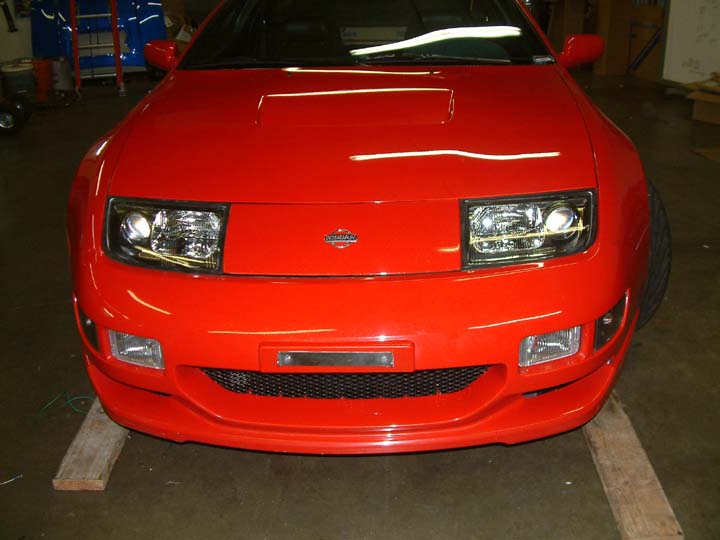
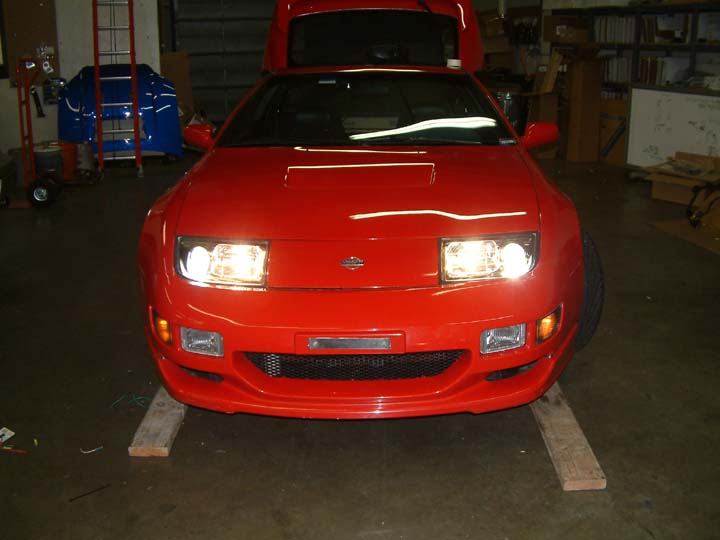
Here are some before pics of my car before the replacement of the headlights.


The installation involved the removal of the front fascia of course.
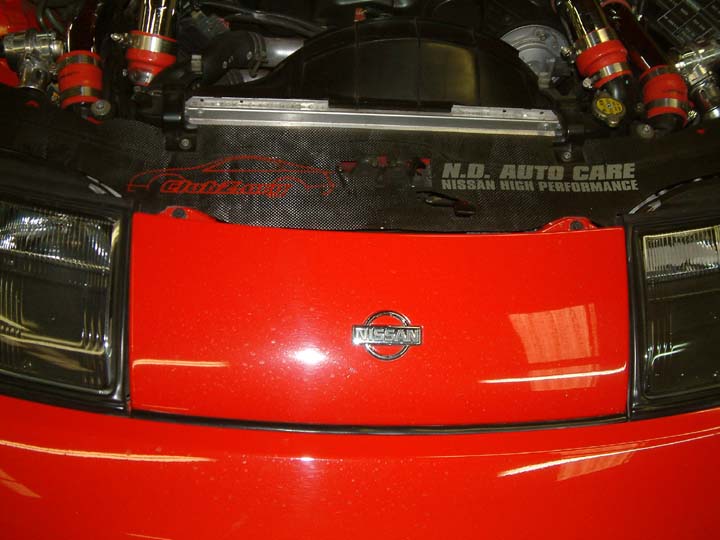
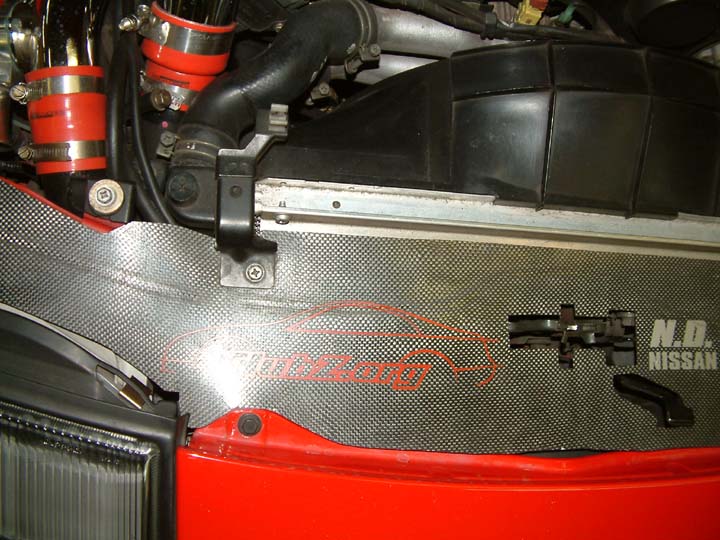
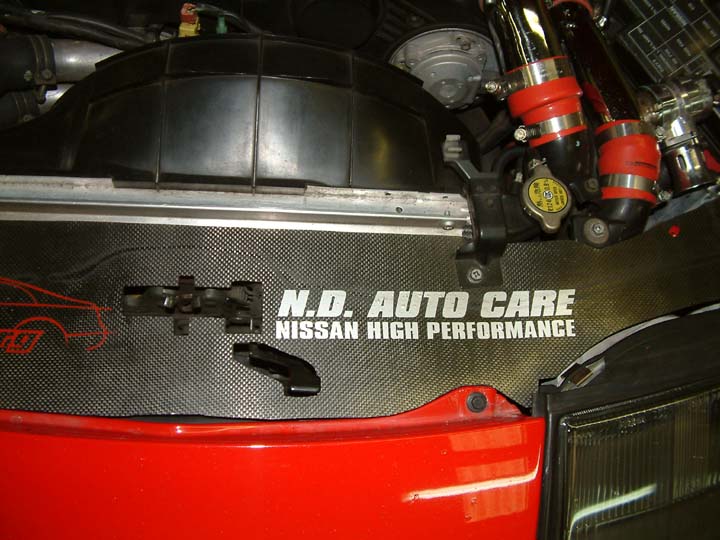
1) I had to remove the radiator brackets in order to remove my carbon fiber radiator guide.
2) Remove the center air filter garnish.
3) Remove the fasteners that hold up the wheel well fender guards.
4) Remove the turn signal housings.
5) Remove all of the bolts and fasteners that connect the front fascia to the car.
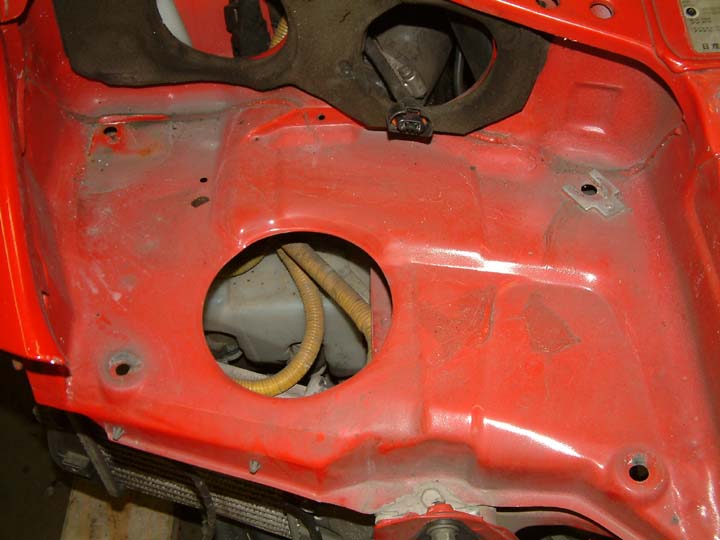
After removing the fascia, my car looked like it was the loser in a bar room brawl.
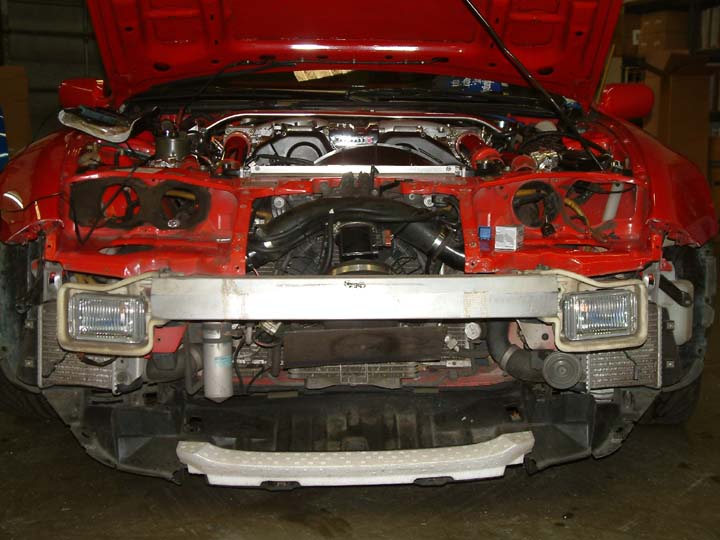

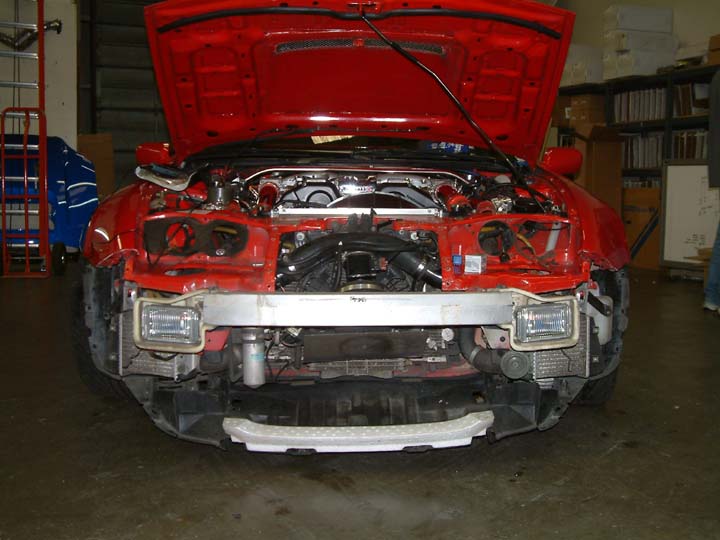
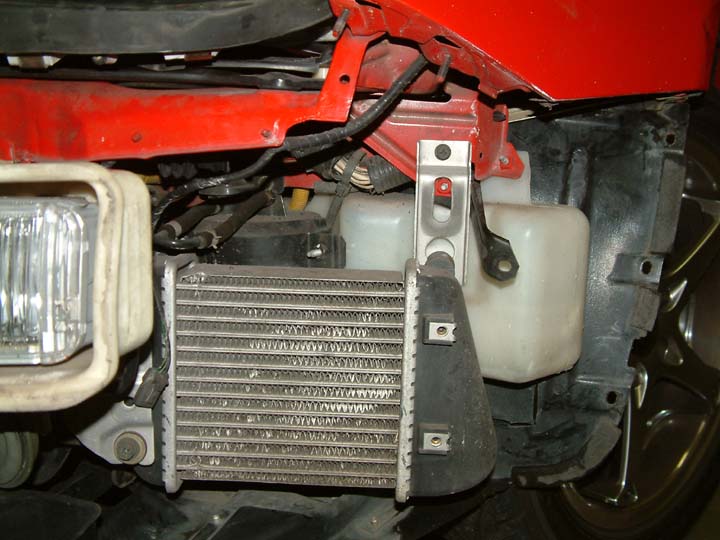
I know, I know, I shoulda replaced the stock intercoolers with bigger ones since my front fascia was off. They are on order.

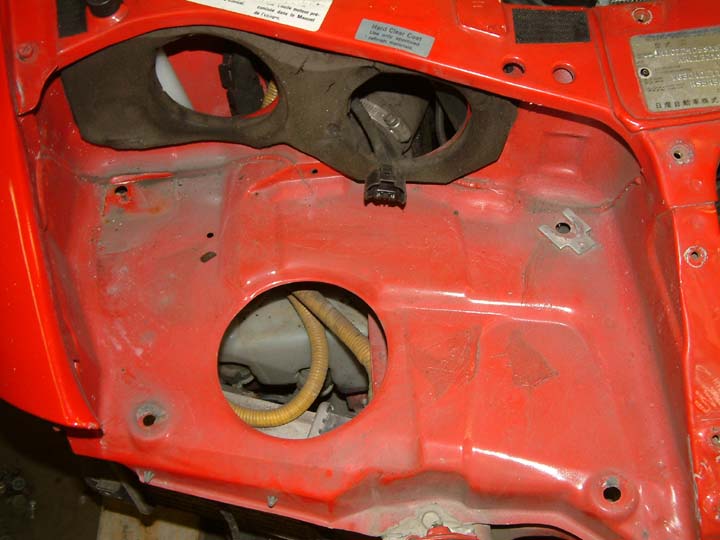
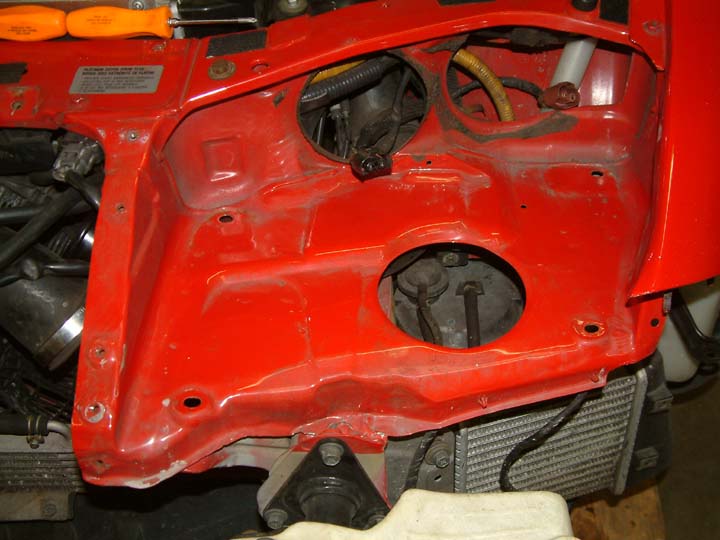
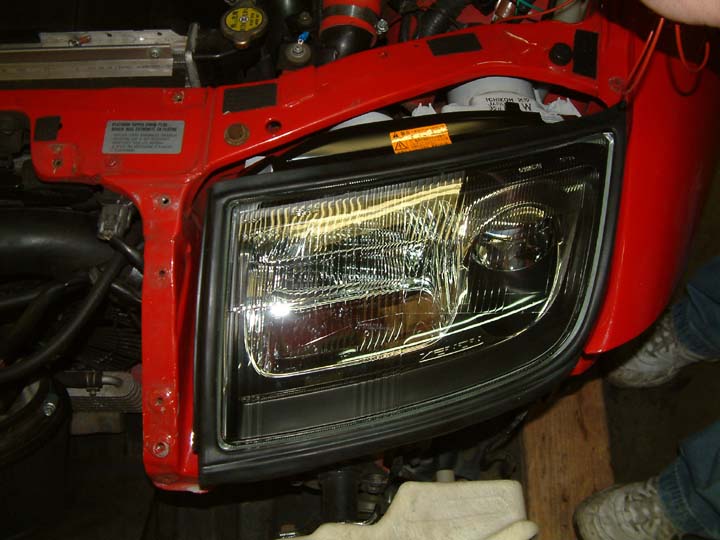
This is what the headlight buckets look like after the headlights are removed. There are 2 bolts and 2 nuts that hold the headlight in place. The 2 far ones in the back are the most difficult to remove. Just wait until you have to reinstall those 2 bolts. I cleaned the headlight buckets before I installed the new headlights of course.


Kyle, Chester, and I pondered the most desirable way of wiring up the headlights into my stock harness with relays and such and it takes a lot of modifcation to do so. The wiring is actually the easiest part once you have it down. Putting everything back together proved to be the most time consuming and difficult part of the install process. Just make sure to test everything before you fasten everything in place. The worst thing you could possibly do is mess up on the wiring and have to remove the lights again.
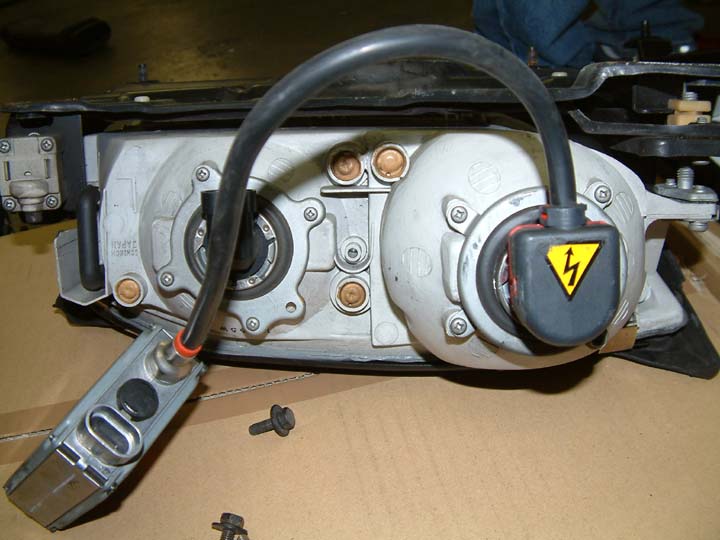
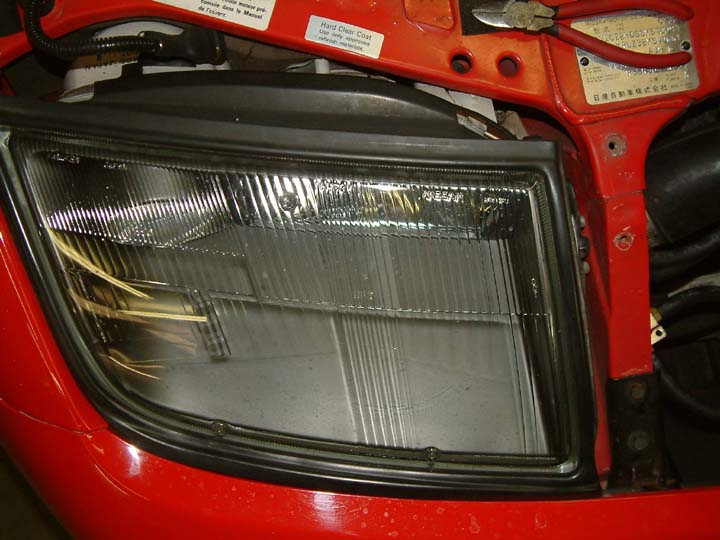
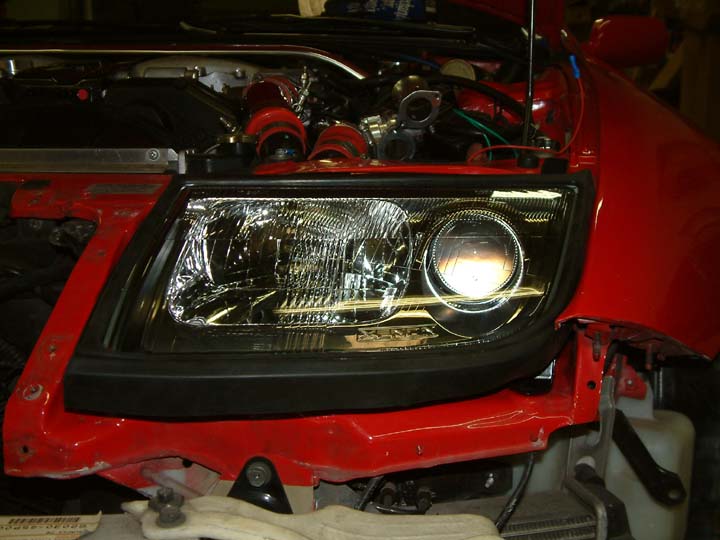
This is what the housing looks like with the driver's side headlight in place.
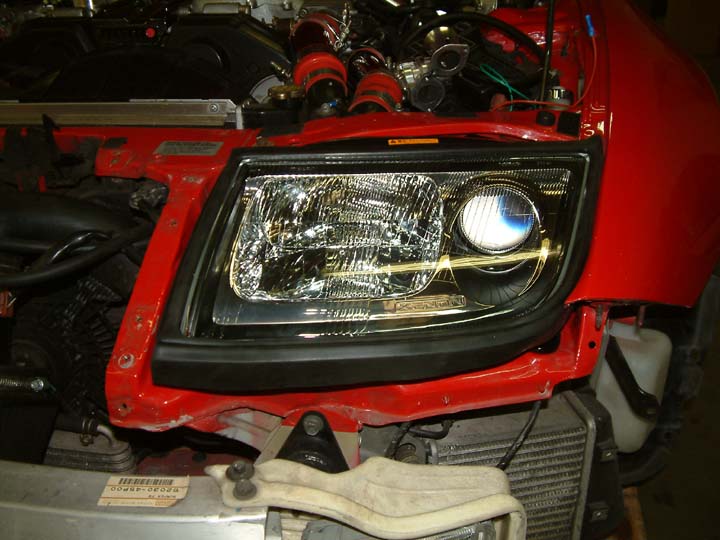
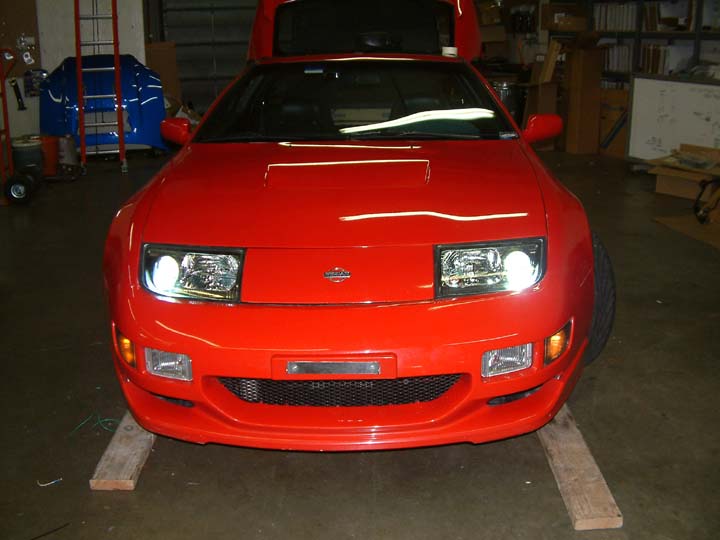
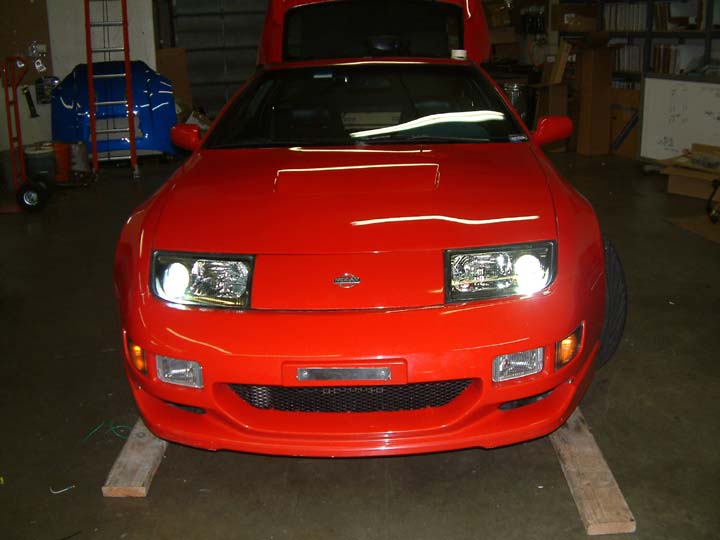
The finished product. The way we wired up the lights, my low beams stay on with the high beams. This is to save unnecessary wear and tear on the ballast when you flash the high beams on. The beam pattern is definitely more focused as opposed to the US headlight which disperses the beam. The US headlight of course wasn't designed for HIDs so that's why the pattern is different. The lights came out beautifully just as I had envisioned. It definitely changes the look of the car and compliments the J-spec fascia well. Nothing like a new set of headlights to brighten your day. ;-)

All told, we arrived at the shop at 11:30 AM and worked until 6:30 PM. Of course we had a short lunch break and chatted a lot while working. The most difficult part for me was reinstalling the two rear bolts on the driver's side headlight. For the left side bolt I had to loosen one of the pipes and pull it forward. Then I had to shove my left hand way up under the piping and hold the bolt in place while my right index finger and thumb tried to turn the bolt. It was very awkward and this bolt itself wasted 45 minutes of my time. After a bunch of expletives resulting from dropping the bolt and socket numerous times, it went in. Putting the fascia back on takes a bit of time and patience as well as you have to make sure everything is aligned properly and the reinforcement webbing on the two sides next to the turn signals are lined up properly.
It was definitely an exercise in patience. Now I know why some body shops leave out extra fasteners when they replace the lights. I hope I never have to remove and replace these housings again.... knock on wood. Special thanks go out to Chester Joe and Kyle Jester for helping with the install. I bribed them with dinner afterwards but I am sure that I will owe them my firstborn or something. Stay tuned to this page as I will add some night pictures of the lights, some pictures of the lights pointed at the wall, and the all so important 45 degree angle to the front and driver's side of the car to see how the beam points to the left.